Sunday, October 11, 2015

Fall Plantings

Today I visited a nearby garden center, Kulaks, and took advantage of the "cart sale." Essentially, I could buy a full cart of plants for $75. Given that they have large carts, the price seemed like a bargain. Needless to say, I crammed the cart full and ended up with 24 plants. They are all perennials, so this was a good investment.


I then had to decide where to put them. Most of the plants I purchased were shade tolerant. However, I also picked some sun plants with flowers as part of my plan to fill the area next to the bell and along the new fence with a small flower garden. Much of the Zen garden is too shady for bright flowing sun plants, so this may add a little color to the overall garden, especially since this fence/bell area gets a lot of sun.


I started out with a Ginko Craig Plantain Lily (Hosta x 'Ginko Craig'), as a Hosta, it actually likes shade so I will need to keep an eye on it. Just behind, I planted a Coreopsis 'Creme Brulee'. This variety has nice red flowers with a yellow center. I also planted two Dwarf Plumbago (Ceratostigma plumbaginoides) plants. These plants like part sun, but produce a nice purple flower in the fall. 


Further back I planted an Iron Butterfly Narrow-Leaf Ironweed (Verononia lettermannii 'Iron Butterfly'). Full sun will produce nice flowers and attract butterflies. I also added a Sedum 'Autumn Fire' which should add some rich pink to bronze color to the area.


Just below the bell I planted a Moody Blues Mauve Speedwell. Its size is big enough to show some flowers but will not overwhelm the bell post.


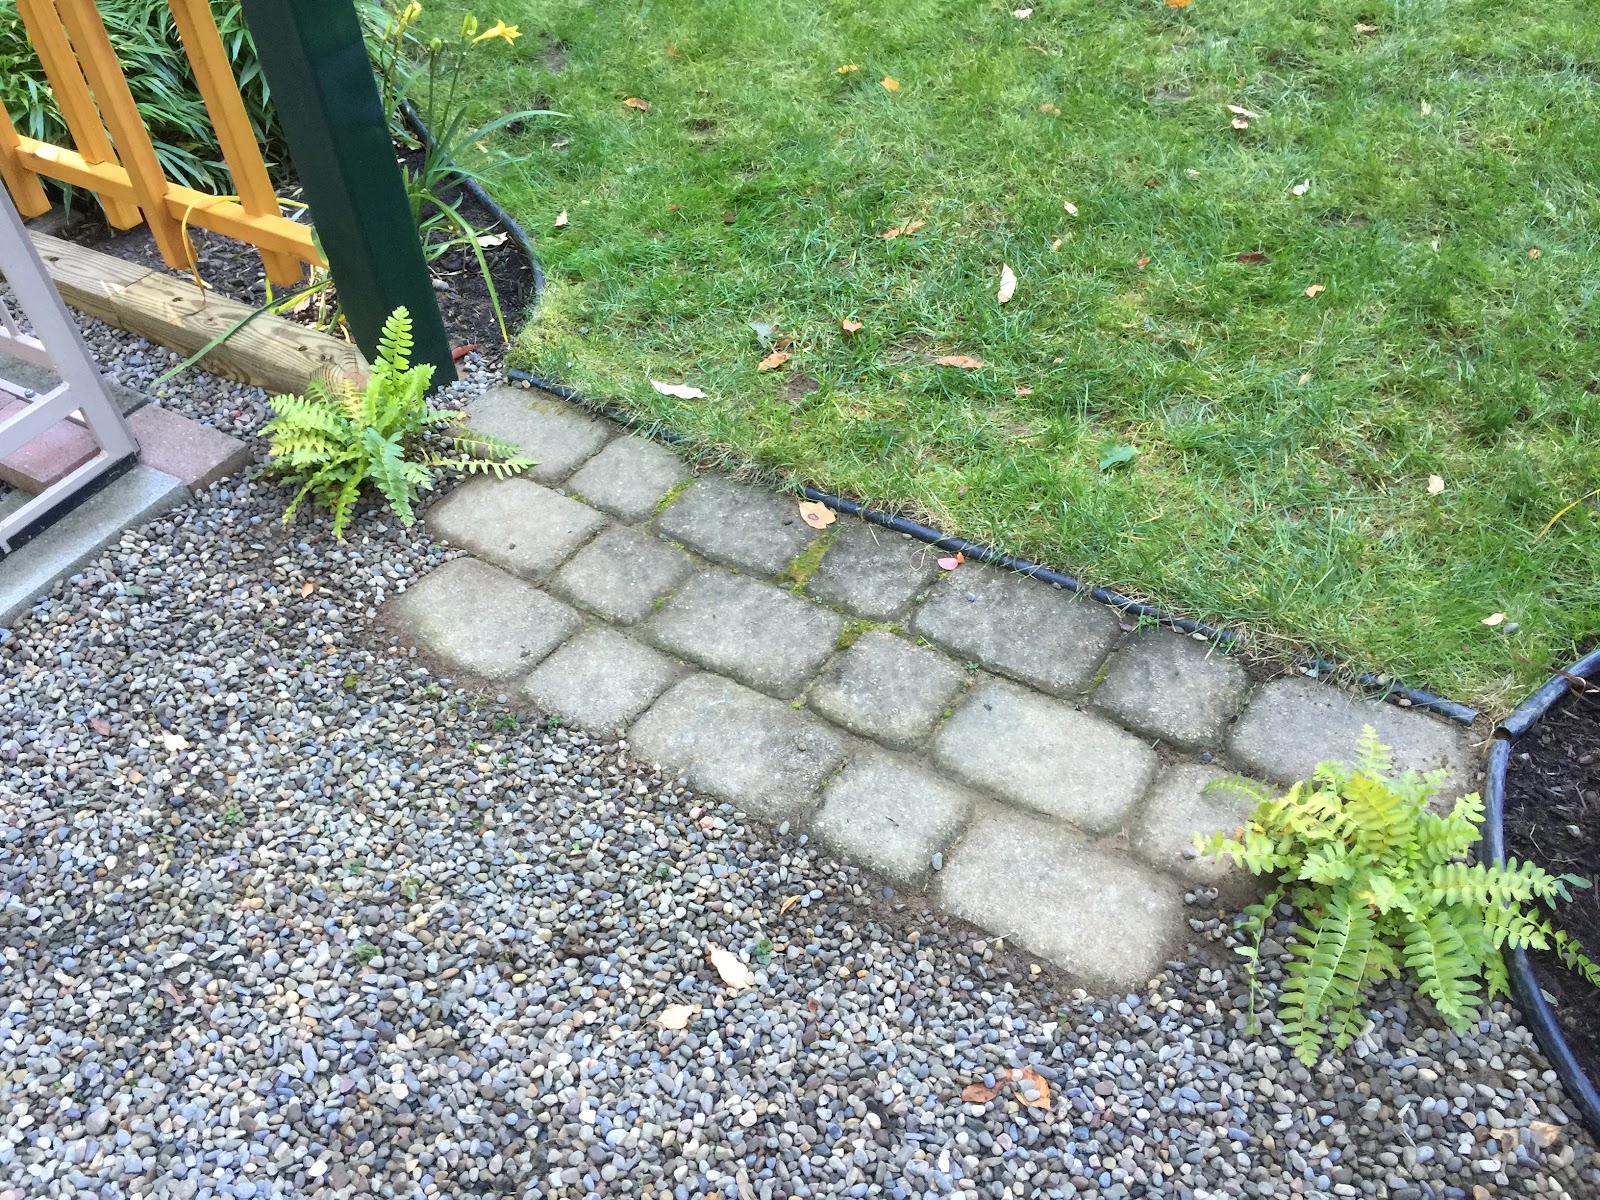
Near the entry way to the garden from the backyard I decided to add a couple of ferns - Christmas Fern (Polystichum acrostichoides). They are very close to the bricks, but should do well in this location. Again, I will need to make sure they do not get too much light. More importantly, I may need to relocate if they spread to much.


I still have a long way to go to get through all the new plants. 

Saturday, October 10, 2015

My See-Through Fence

I finally finished the fence. I'm referring to it as a sukashigaki or "see through fence." This Japanese term  is used to describe a fence that demarcates a shift in garden areas. Now one clearly knows when they are in the Zen garden (Songni Yuan) or in the backyard. Although the backyard property line needs much work, I now feel like the Zen garden has been finalized in terms of its completed layout. Yes, there will always be much to do to maintain the garden, but the area has now been defined.

The fence completion took much longer than I anticipated. I completed the staining of the posts and rails a week ago. 


However, making the pickets was very time consuming. There were 31 total and I had to notch each one three times in order to overlap with the rails. I did so using my table saw, but with a single blade, I had to make numerous passes to clear out a single notch. I then had to sand, pre-drill, and stain each picket. Staining two coats took about six hours. 

Attaching the pickets was also difficult - my math had to be precise in order to ensure that the openings were all the same size. I also had to make sure that each picket was level and square. Eventually I devised a system that allowed me to complete each attachment as quickly as possible.


I also like the view from within the garden. Being able to see through to the backyard helps to make the garden more open. Additionally, the bell looks good with the fence behind it.


The last thing I did was to attach copper post caps to the tops of the main posts. They are shiny now, but like the ones elsewhere in the garden from earlier gate projects, they will patina in time. I purchased theses caps form the same place as I did in the past - The Metal Peddler. They were reasonably priced and well made.


The fence line also looks nice from inside them home.


Overall, I am very happy with the final outcome. It was a lot a work but I can now stand back and say "I made that."


Sunday, September 20, 2015

Demarcation

I spent most of the weekend constructing a fence along the south side of the garden area. 

Over the last few years I have struggled with how to proceed. I always wanted to use plantings to demarcate the end of the garden and the beginning of the back yard. However, the grasses, including the clumping bamboo, never fully created a "fence line." I also didn't want to extend the existing fence style in this direction - towards the house and dinning room window.

More recently I considered a Yotsume-Gaki style fence. 


The idea of using bamboo seemed authentic and the open style appealed to me. I want to demarcate the garden, not seal it off from view. However, there was no local access to bamboo and shipping it was cost prohibitive. I always considered a cedar alternative, but locating small 2x2 cedar style pickets has proven difficult (I do not use treated lumber). However, two weeks ago I stumbled on an available supply.

My plan was simple - install 5 4x4s, cut 6 2x4s into rails, attach 30 2x2 pickets.


I spent one day with the posts and had them aligned and inserted by the end of the day.


The second day, today, I spent cutting rails and attaching them to the posts. 


I then cut the tops off the posts to keep the height of all the posts below the window of the house.


Next step, stain the posts and rails. I will then spend time during the next week notching the pickets, staining them, and attaching them to the rails. I am hopeful I can get this all done in the next two weeks before it starts to get too cold.

Saturday, September 19, 2015

Ring My Bell

After a couple of weeks, I finally finished the install on the garden bell. I decided to keep the roof for the bell simple. In fact, I was able to build it completely out of scrap wood from past fence and gate projects. 

After setting the main post, removing some peastone and laying new edging, I then moved a large spirea from the Dragon's Spine to the spot next to the stairs. After spreading some new mulch, the area looked much better.


I then began the process of building a roof for the bell. At first, I made the roof out of cardboard. I wanted to make sure my dimensions were correct and that it was proportionally balanced.

Next, I gathered scrap cedar boards and cut and sanded all the pieces. It all went together relatively easy. I also used some thin 1/4 inch cedar boards for the flat portions of the roof. My goal was to also keep the weight down since the post would only support the back half of the roof structure. If it were too heavy, the roof might sag in the front.


Unfortunately, after attaching some scrap roof shingles to the top, the weight increased dramatically. I had considered cedar shingles, but I didn't want to be bothered with the long term maintenance that would have resulted. To resolve that problem I inserted a metal bar through a hole drilled into the top of the post. This bar is attached to a hole in the interior of the front piece of the roof. It isn't visible from outside, but it adds support to the front to prevent sagging and displaces the weight back to the post. The bell itself is resting on the bracket that came with the bell and is attached lower on the post.


The roof was stained the same green as the fence in the garden. I also acquired some wooden ornaments to attach. I liked the large rosette because it resembled the Japanese Imperial crest. I also added a small flower to the top. By off-setting the stain colors, It added more dimension to the structure. 


I also used a similar staining process on the back.


It took some effort to attach the roof to the post on my own. It would have been easier if there had been a second set of hands. Nevertheless, after a lot of clamping and adjustments, I was able to attach the roof and keep it level. In the end, it came out pretty good.


Friday, August 28, 2015

Bell Install

I started the first stage of reworking the area next to the back stairs where I've decided to locate the bell I purchased from the Portland Japanese Garden.


After considering different designs, I opted to go with a single post. Doing so allows me to utilize the bracket that came with the bell. The post is a 4x4 cedar post. 


I chose not to cement it in place in case I need to relocate the bell in the future. I will have to see if the weight of the bell (18 pounds) causes the post to shift over time. If it does shift, I can always dig it out and cement it in place.


I also decided to rework the area at the base. Currently, it is covered with peastone. The plants that are located there (1 Hosta, 3 daylilies) were placed there a couple years ago as a temporary attempt to add some plants that needed transplanting. I dug them up and moved them elsewhere outside the garden.


I also removed a large portion of the peastone and placed some curved edging that stretched from the entry way into the garden over to the edge of the back step. I will eventually fill it in with mulch and perhaps some small flowering plants near the garden entrance. The large area behind the bell-post and next to the step will get a Spirea similar to the one on the opposite side of the steps - I'm thinking I can get one one sale this time of year.

So far, the bell looks good and is working fine. I need to replace the dryer vent in the basement window before I continue with any of the changes mentioned above. This vent should eventually be hidden by the Spirea as it grows. The 4 x 4 post on the ground will also be moved at some point in the future. I am hoping to add a small 3 foot Yotsumegaki  style fence along this edge of the garden (see images below), maybe next year. 


I will then think about how to add some sort of roof structure to the post so as to cover the bell from the elements.

Wednesday, August 26, 2015

For Whom the Bell Tolls

In addition to the molded carp, I was also able to purchase a large bell for the garden from the Portland Japanese Garden gift shop.

I have been considering some sort of ornamental bell for several years. I came  across many examples while visiting Japan this summer, both medium sized and huge, which further inspired me to consider the inclusion of a bell in my own garden. 


When I saw the bell  (below) on display at the gift shop, I was intrigued. The bell was the creation of Tom Torrens, a well known and respected sculptor. I liked the simple design and the bronze color. The bell did not resemble a traditional Bonsho (tsurigane) bell, or hanging bell, like the ones found in most Buddhist temples (pictured above). Instead, it reflected an arts & crafts style associated with the Pacific Northwest. Nevertheless it held some Asian inspired elements. 


More importantly, when I heard the tone of the bell, I was instantly convinced that this was the bell I was looking for. Watch the video below to hear what the bell sounds like:


Now I have to decide how to hang the bell. It weighs 18 pounds, so its a bit heavy. It came with a matching hook that mounts to an upright post, like a 4 x4. However, I am considering several options. Primarily, I would like the structure which holds the bell to have a roof, preferably four sided and similar to the fukihanachi style of Japanese bell towers.

Below are some examples of bell stands I have come across online:


The first three are obviously too large, while the last three could work. However, I was hoping for a four legged-roofed structure. It would have to be narrow and appropriately sized for the bell and the space where I intend to place it, most likely near the back door where it could act as a sort of door bell. I will spend a good part of the next few months planning and working on a design.